Mirrors serve as both functional and aesthetic elements in our homes, reflecting not only our images but also the style of our living spaces. Adding a frame to a mirror can elevate its visual appeal and tie it seamlessly into your decor. In this DIY guide, we'll walk you through the steps on how to make a frame for your mirror, transforming a simple reflective surface into a personalized and stylish accent for your home.
Your bathroom is a sanctuary, and every detail contributes to the overall ambiance. If you're contemplating a home improvement project, consider adding a personal touch to your space by crafting a DIY frame for your bathroom mirror. Here are compelling reasons why embarking on this creative endeavor can be immensely rewarding.
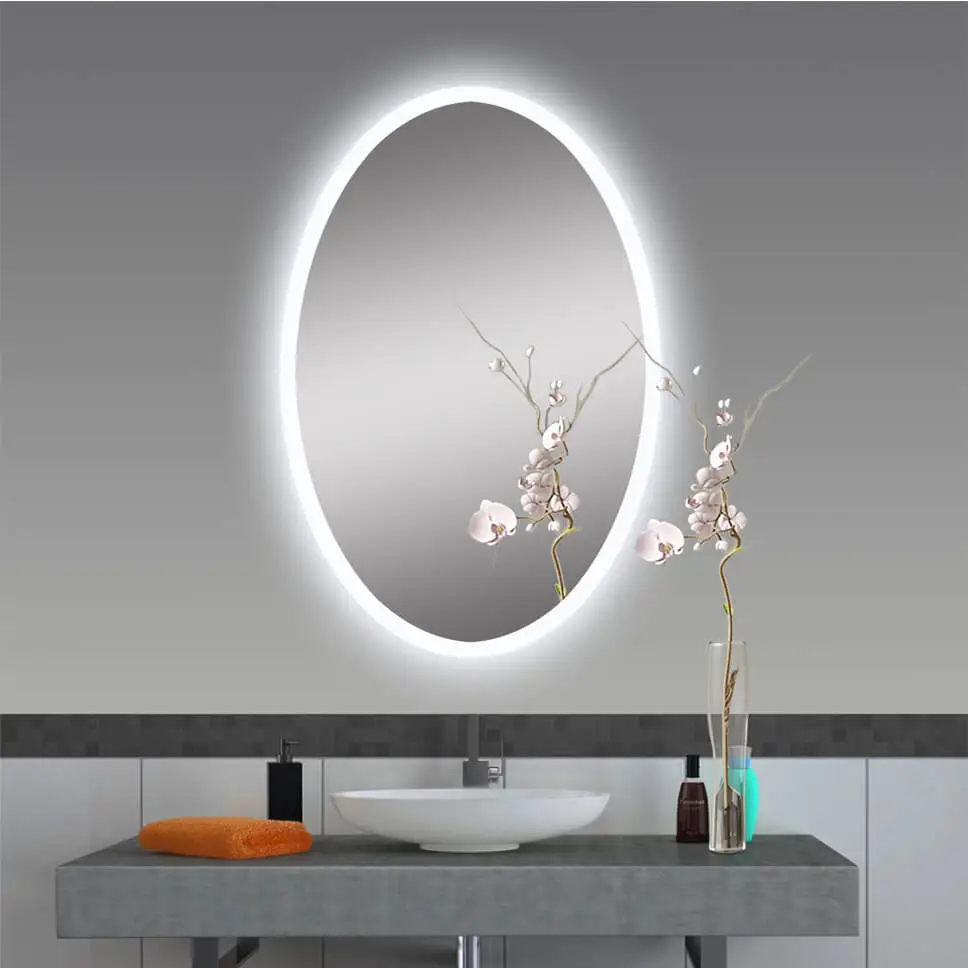
One of the primary advantages of a mirror frame DIY bathroom is the ability to tailor it to your unique style. Commercially available mirrors often lack the personal touch that comes with a handmade frame. Whether your taste is modern, rustic, or eclectic, a custom frame allows you to infuse your personality into the design, ensuring a seamless integration with your bathroom decor.
Renovating a bathroom can be a costly venture, but a DIY mirror frame offers a budget-friendly alternative. By using readily available materials and exercising your creativity, you can achieve a stylish and personalized look without breaking the bank. It's a cost-effective way to upgrade your bathroom and enhance its visual appeal.
Engaging in a DIY project is not just about the end result; it's a journey of creative expression. Designing and crafting your mirror frame allows you to experiment with different materials, colors, and styles. The satisfaction that comes from completing a project with your own hands and witnessing the transformation of a simple mirror into a unique piece of decor is unparalleled.
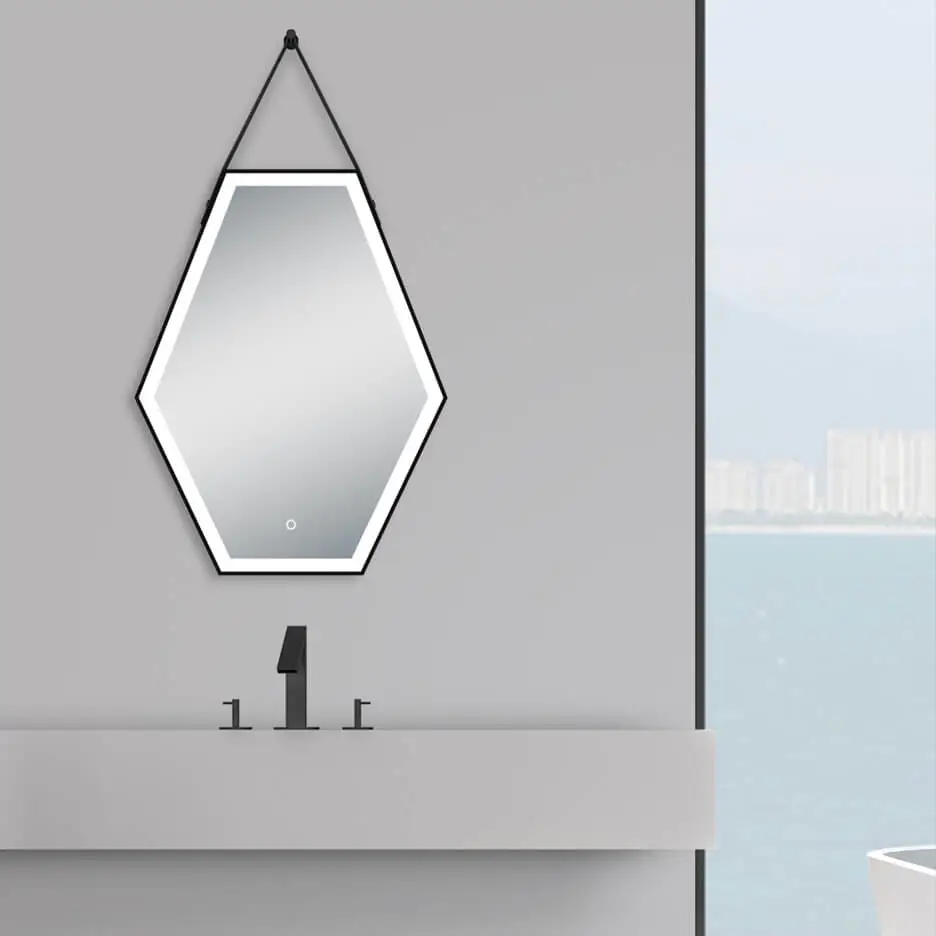
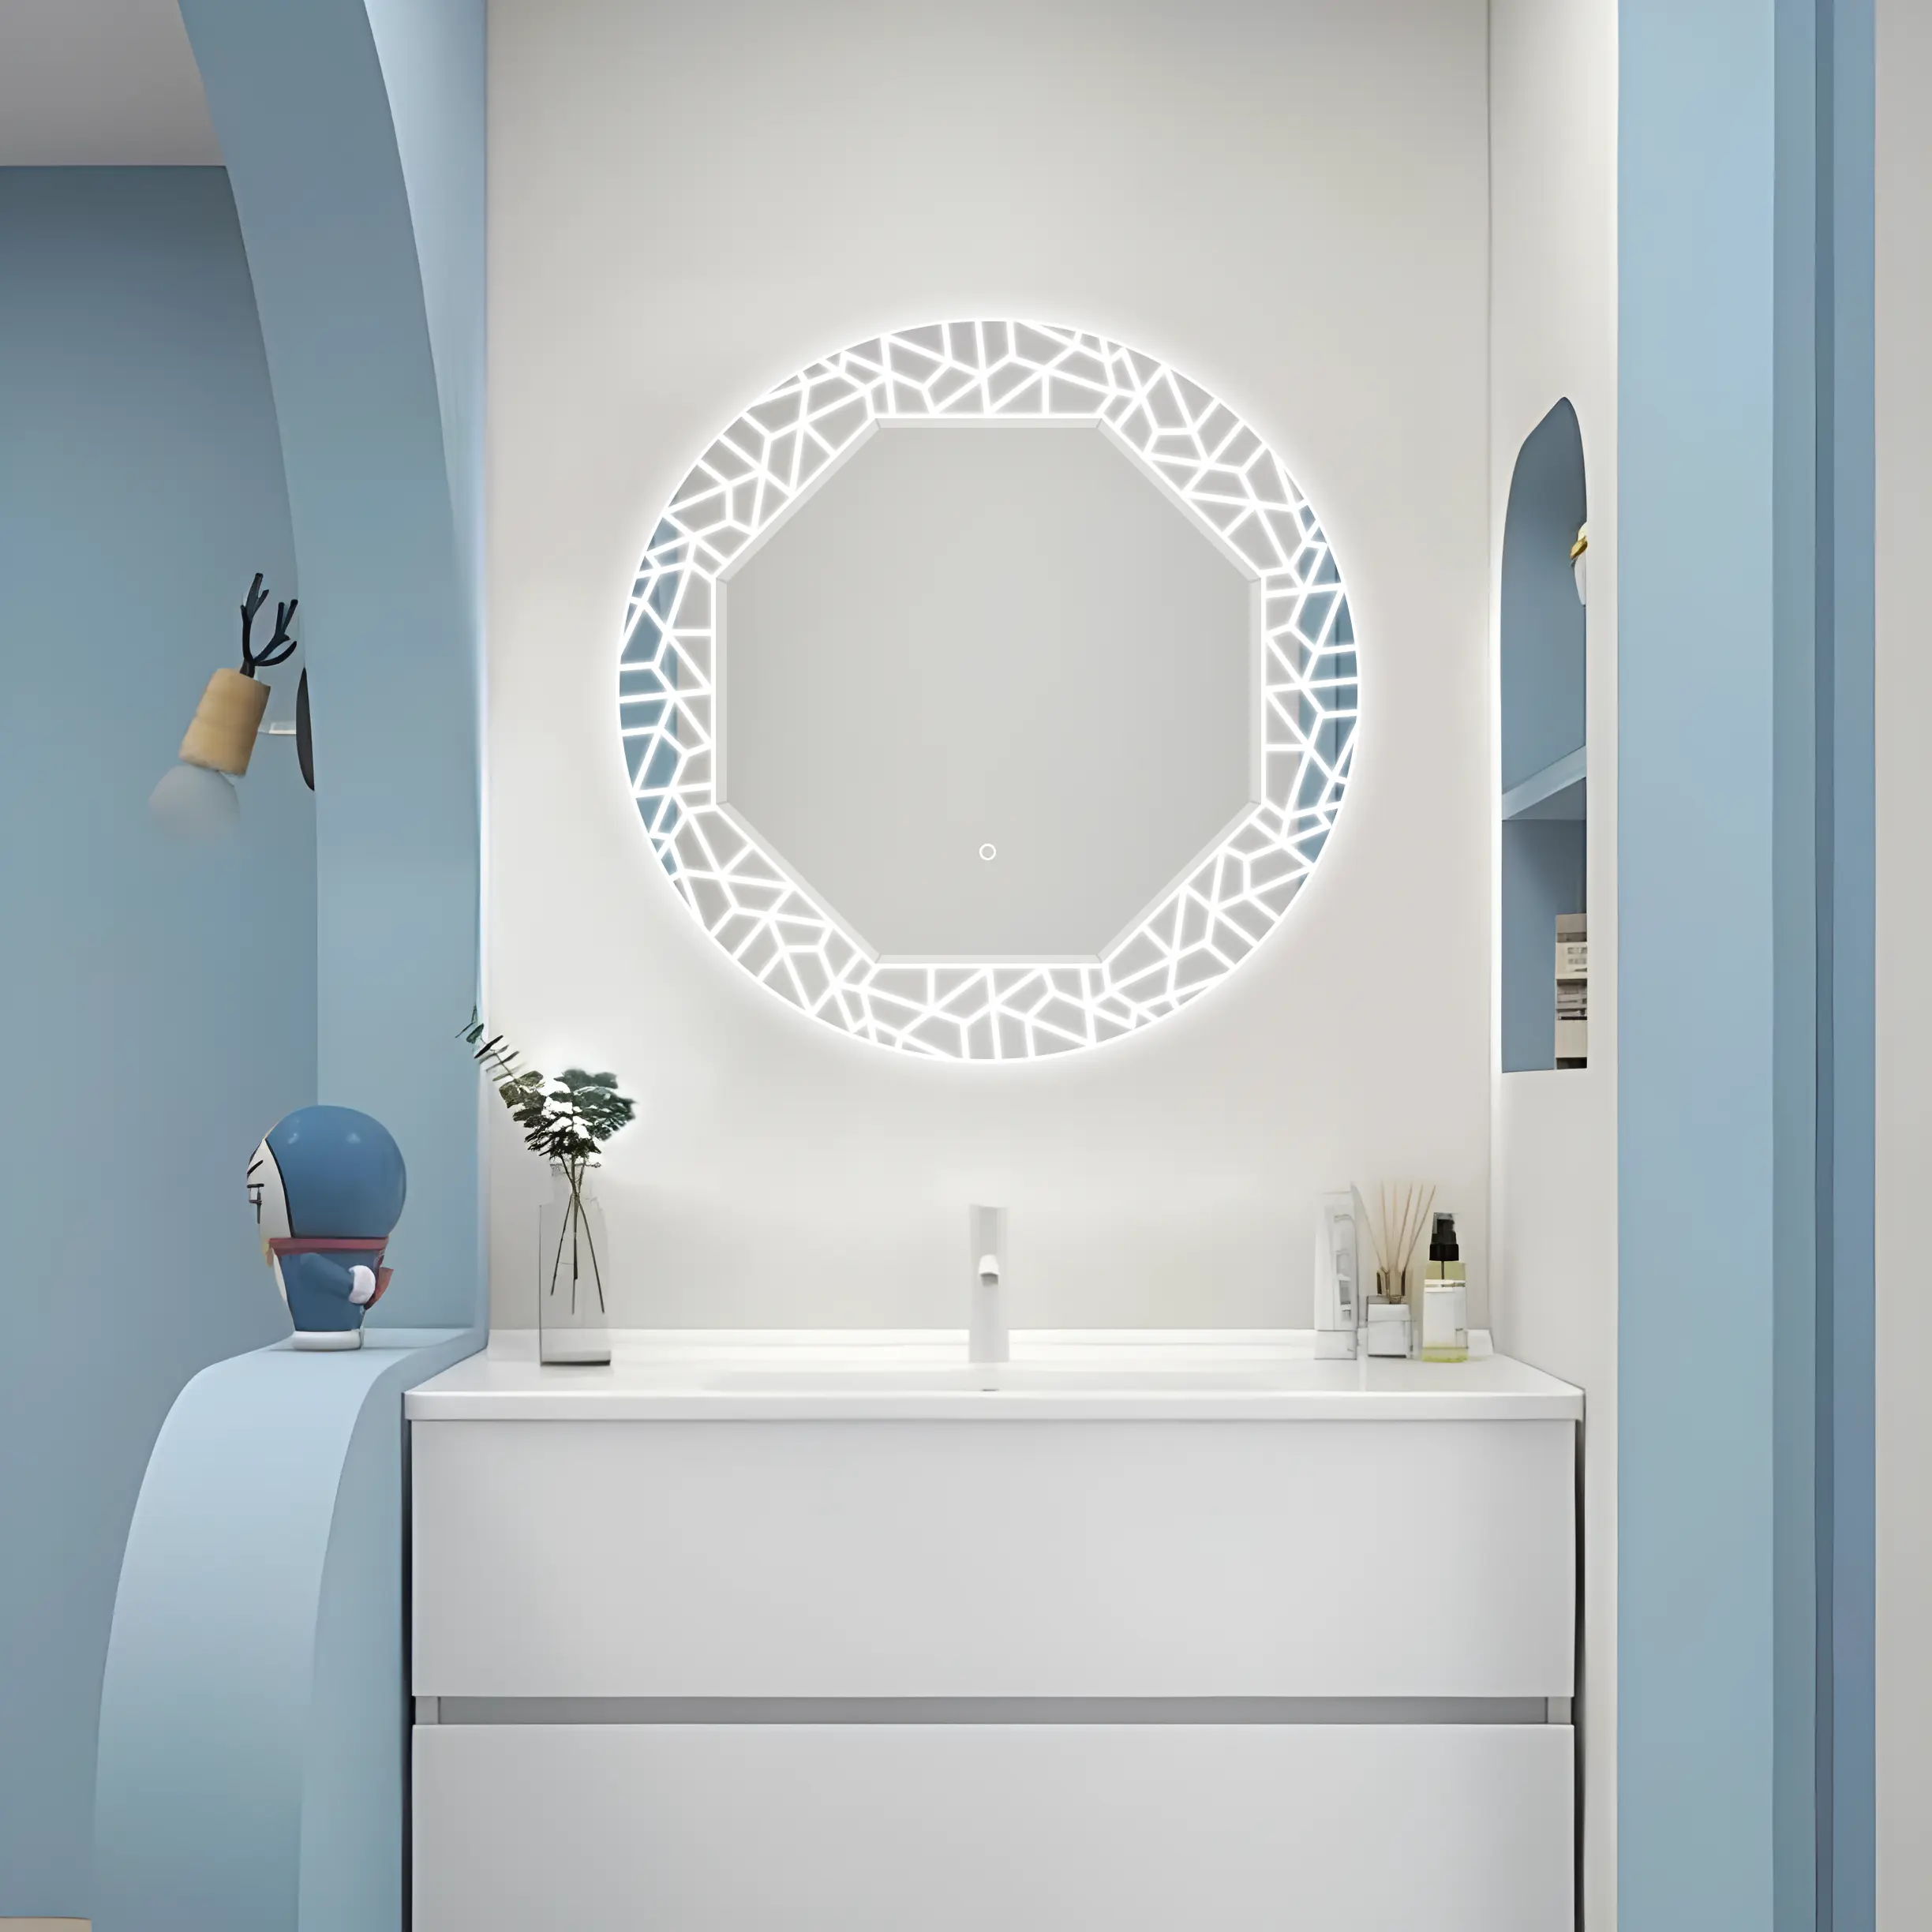
Commercially available frames may not always align with the specific dimensions of your bathroom mirror. With a DIY frame, you have the liberty to create a perfect fit tailored to your framed LED bathroom mirror's size and shape. This ensures a cohesive and harmonious look that enhances the overall aesthetic of your bathroom.
In an era where sustainability is gaining importance, opting for a DIY mirror frame is an environmentally friendly choice. By repurposing or upcycling materials, you contribute to the reduction of waste and minimize the environmental impact associated with manufacturing and transportation.
Completing a DIY project instills a sense of accomplishment and pride. Every time you step into your bathroom and see the handcrafted mirror frame, you'll be reminded of your creative abilities. It becomes a testament to your skills and adds a personal story to the space.

Materials You'll Need
Unframed mirror
Miter saw or hand saw
Wood (choose a species that complements your decor)
Wood glue
Clamps
Sandpaper (varying grits)
Stain or paint (optional)
Polyurethane or wood sealer (optional)
Picture frame hangers or mirror clips
Safety goggles and ear protection
Specific Steps of Making a Mirror Wood Frame
Step 1: Measure and Choose Your Wood
Start by measuring the dimensions of your mirror. Choose a wood species that aligns with your aesthetic preferences and complements your existing decor. Many home improvement stores offer a variety of wood options, allowing you to select the perfect match for your style.
Step 2: Cut the Wood
Using a miter saw or hand saw, carefully cut the wood to the desired lengths for each side of the mirror frame. Be precise with your measurements to ensure a snug fit around the mirror.
Step 3: Create Mitered Corners
For a polished and seamless look, cut the ends of each piece at a 45-degree angle. This will allow the corners of your frame to fit together seamlessly, forming clean and professional-looking joints.
Step 4: Glue and Clamp
Apply wood glue to the mitered edges of the frame pieces and join them together. Use clamps to secure the pieces in place while the glue dries. Wipe away any excess glue with a damp cloth to ensure a neat finish.
Step 5: Sand and Smooth
Once the glue has fully dried, use sandpaper to smooth any rough edges and achieve a polished surface. Start with a coarse grit and progressively move to finer grits for a silky finish.
Step 6: Stain or Paint (Optional)
If you desire a specific color or finish, now is the time to stain or paint your bathroom mirrors wooden frames. Be sure to choose a finish that complements your decor and allows the natural beauty of the wood to shine through. Apply multiple coats as needed, allowing each layer to dry thoroughly.
Step 7: Seal the Frame (Optional)
For added durability and protection, consider applying a coat of polyurethane or wood sealer. This step will help preserve the integrity of the frame and safeguard it against moisture.
Step 8: Attach Hangers or Clips
Depending on the weight of your mirror, attach either picture frame hangers or mirror clips to the back of the frame. This will ensure secure and stable mounting.
By following these simple steps, you can create a custom frame for your mirror that not only enhances its aesthetic appeal but also adds a touch of craftsmanship to your living space. Personalize your frame with unique wood choices, stains, or paints to make a statement that reflects your style. Get ready to enjoy a mirror that not only reflects your image but also your creative spirit. Happy crafting!
 English
 français
 Deutsch
 Español
 italiano
 русский
 português
 العربية
 tiếng việt
 Türkçe
 ไทย
ไทย